

With all of this appropriate collection of skills a boat project should be a piece of cake. And, I had the experience of building two airplanes. Of course they were metal and the boat would be wood and fiberglass. Never-the-less, one cannot finish a project unless they start. It also must be said that he many years had allowed me to collect many handy tools that would have been pretty useless on a corn crib or chicken coop but came in right handy for building a boat. For example: a router table, Dremel tools, palm sander, and multifunction power tool.
Having decide the duck punt would be a reasonable first project, I ordered the plans and started reading all the various builder logs on the net. Now I have to confess right at the start that I made a mistake. The plans call for 9mm (3/8) plywood as the basic structural material. I noted several builders opted to go with 1/4 inch but. I opted for extra strength and stayed with 3/8 inch. During the build I found the 3/8 needlessly stiff and strong and also needlessly weighty. The 1/4 inch material would have been plenty strong. In fact, I could have opted for 1/8 inch ply for certain parts.
The excess weight issue was further exacerbated by my selection of 6 ounce fiberglass fabric. Four ounce would have been more than adequate and would have had the additional benefit of saving on epoxy. And, I primed and painted all surfaces. At the end of the day, the bare hull came out weighing 150 pounds.
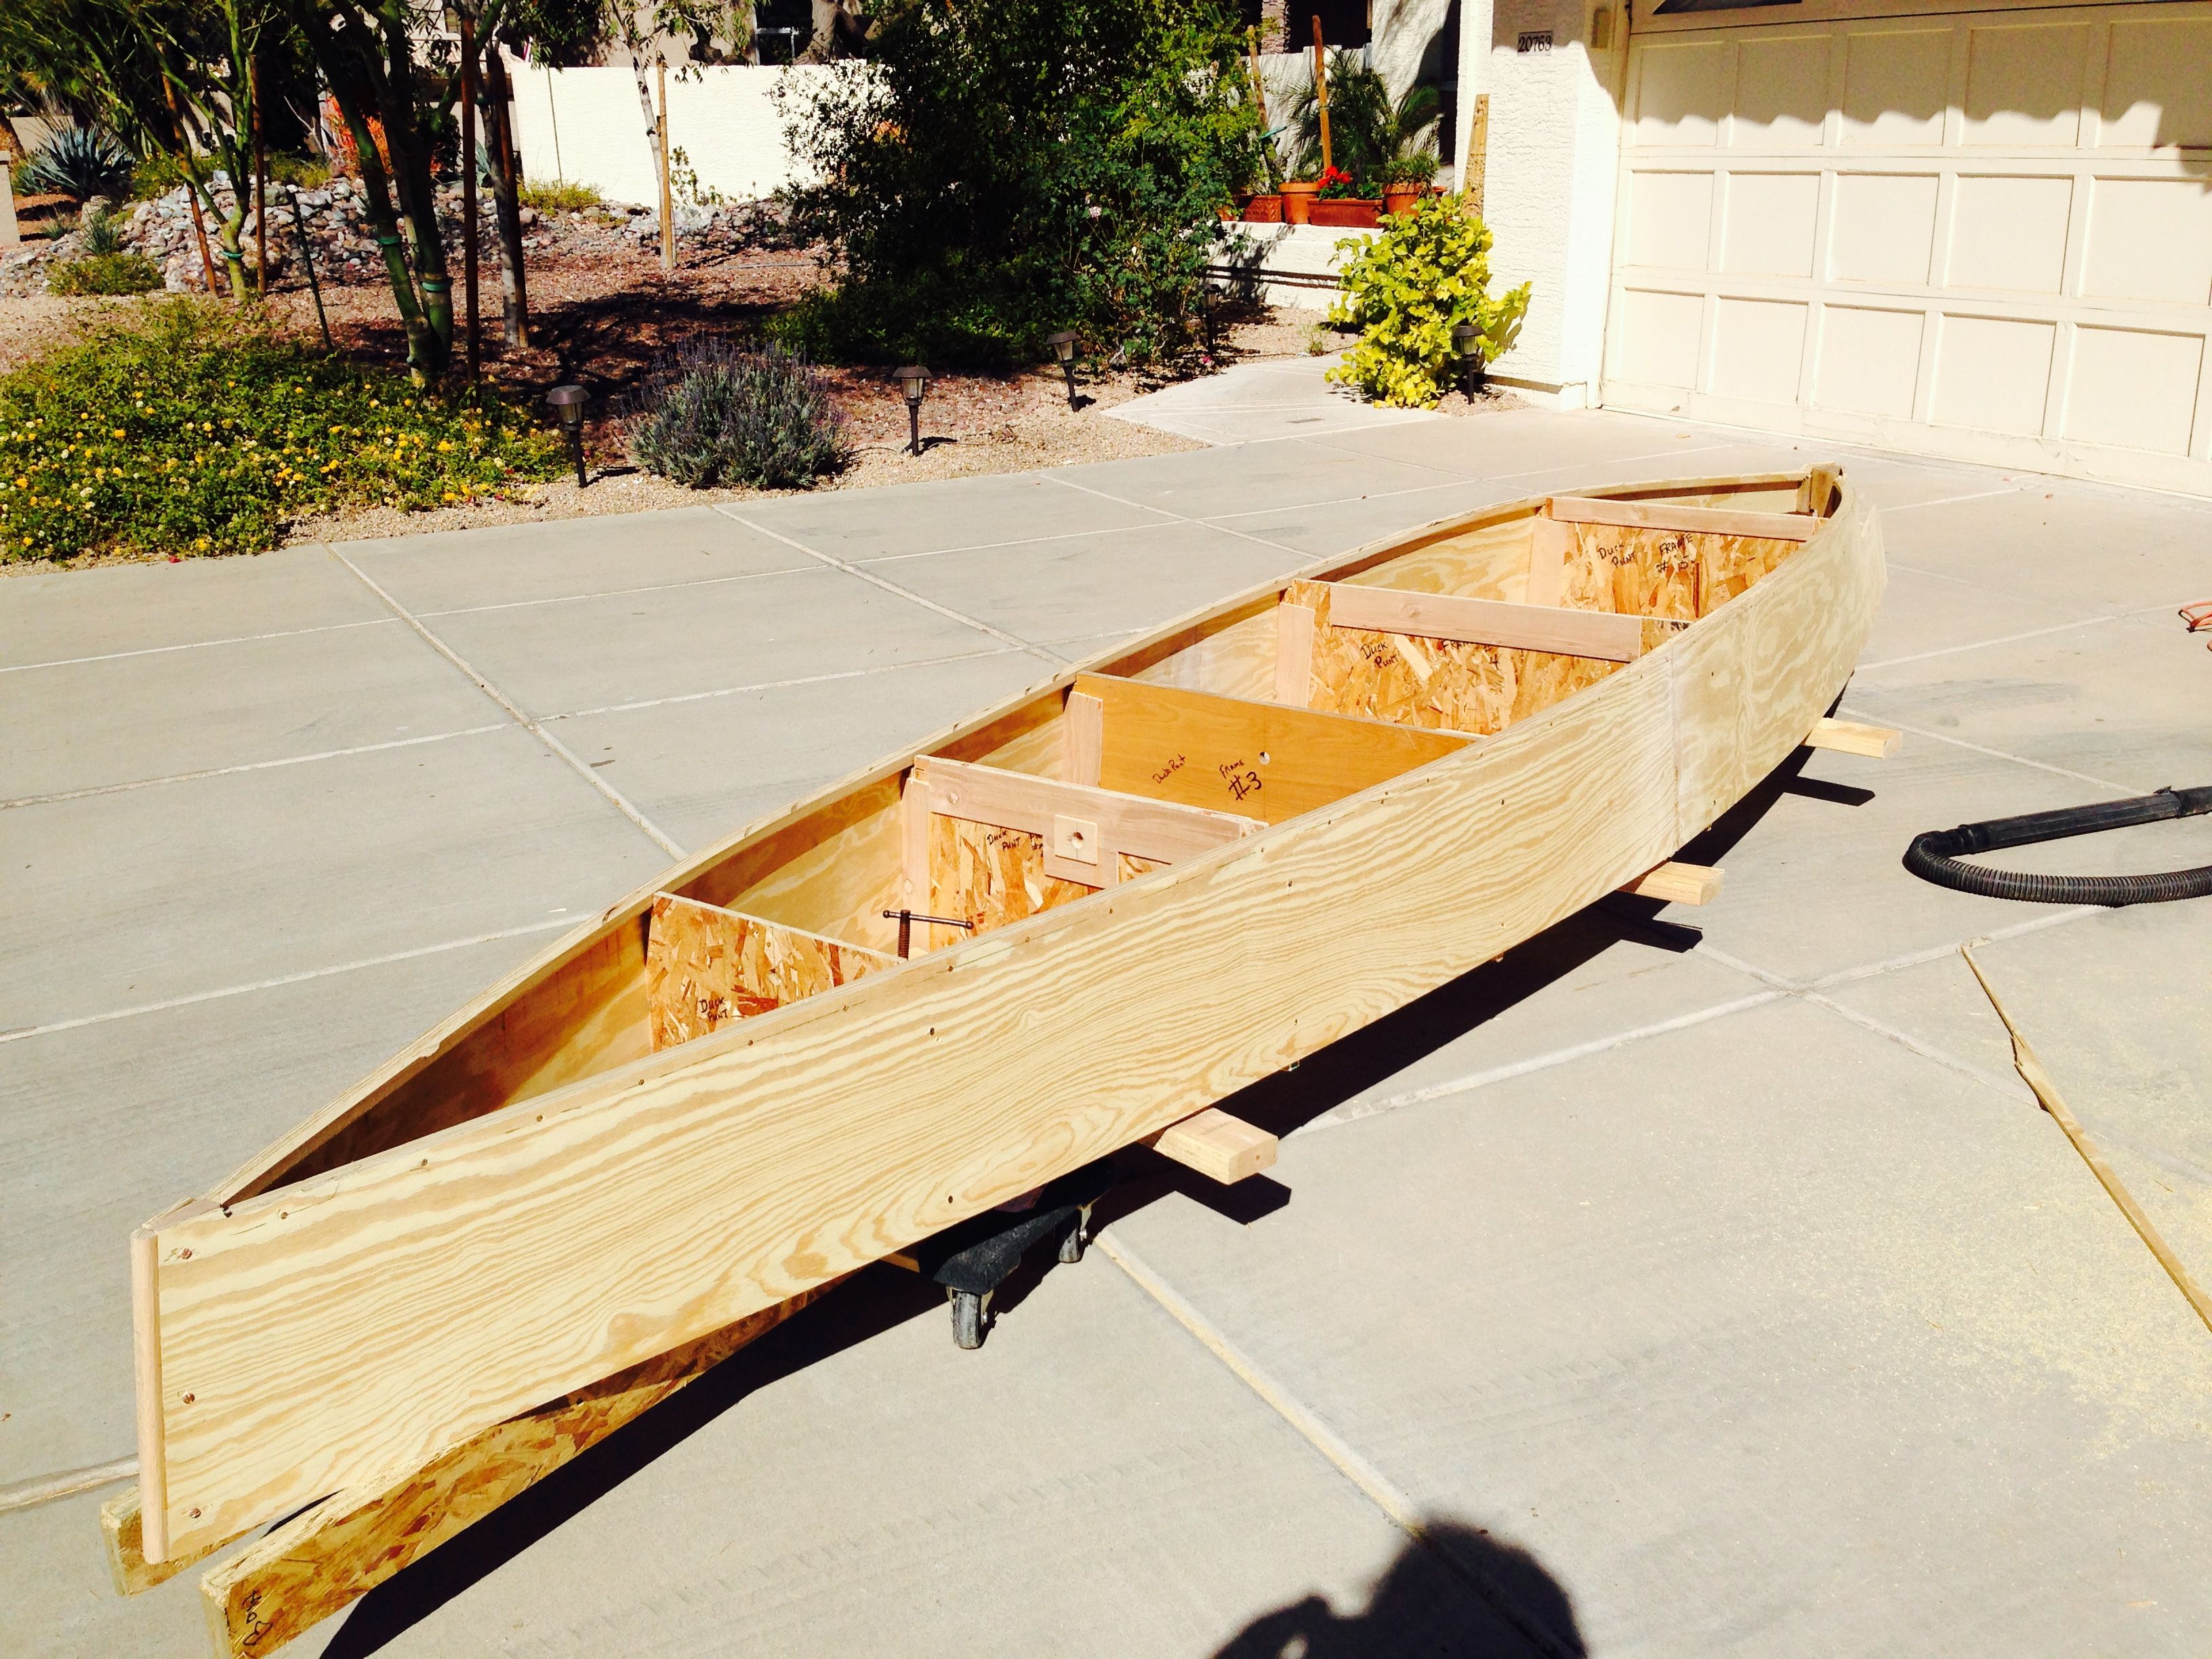
We have a three car garage where one bay is reserved for my tools. Unfortunately there is not room for all of my tool boxes and benches and the project and still have room to move around. Fortunately, the weather in Phoenix allowed me to work on the drive in front of the garage. I kept the project on a couple of furniture movers so I could push it back into the garage each night

The driveway is flat
and square
Making the building frame turned out to be a problem due to the awful green and crooked lumber available at our local home improvement store. I
finally gave up and made my own stringer material by cutting and gluing up strips of particle board.
![]()

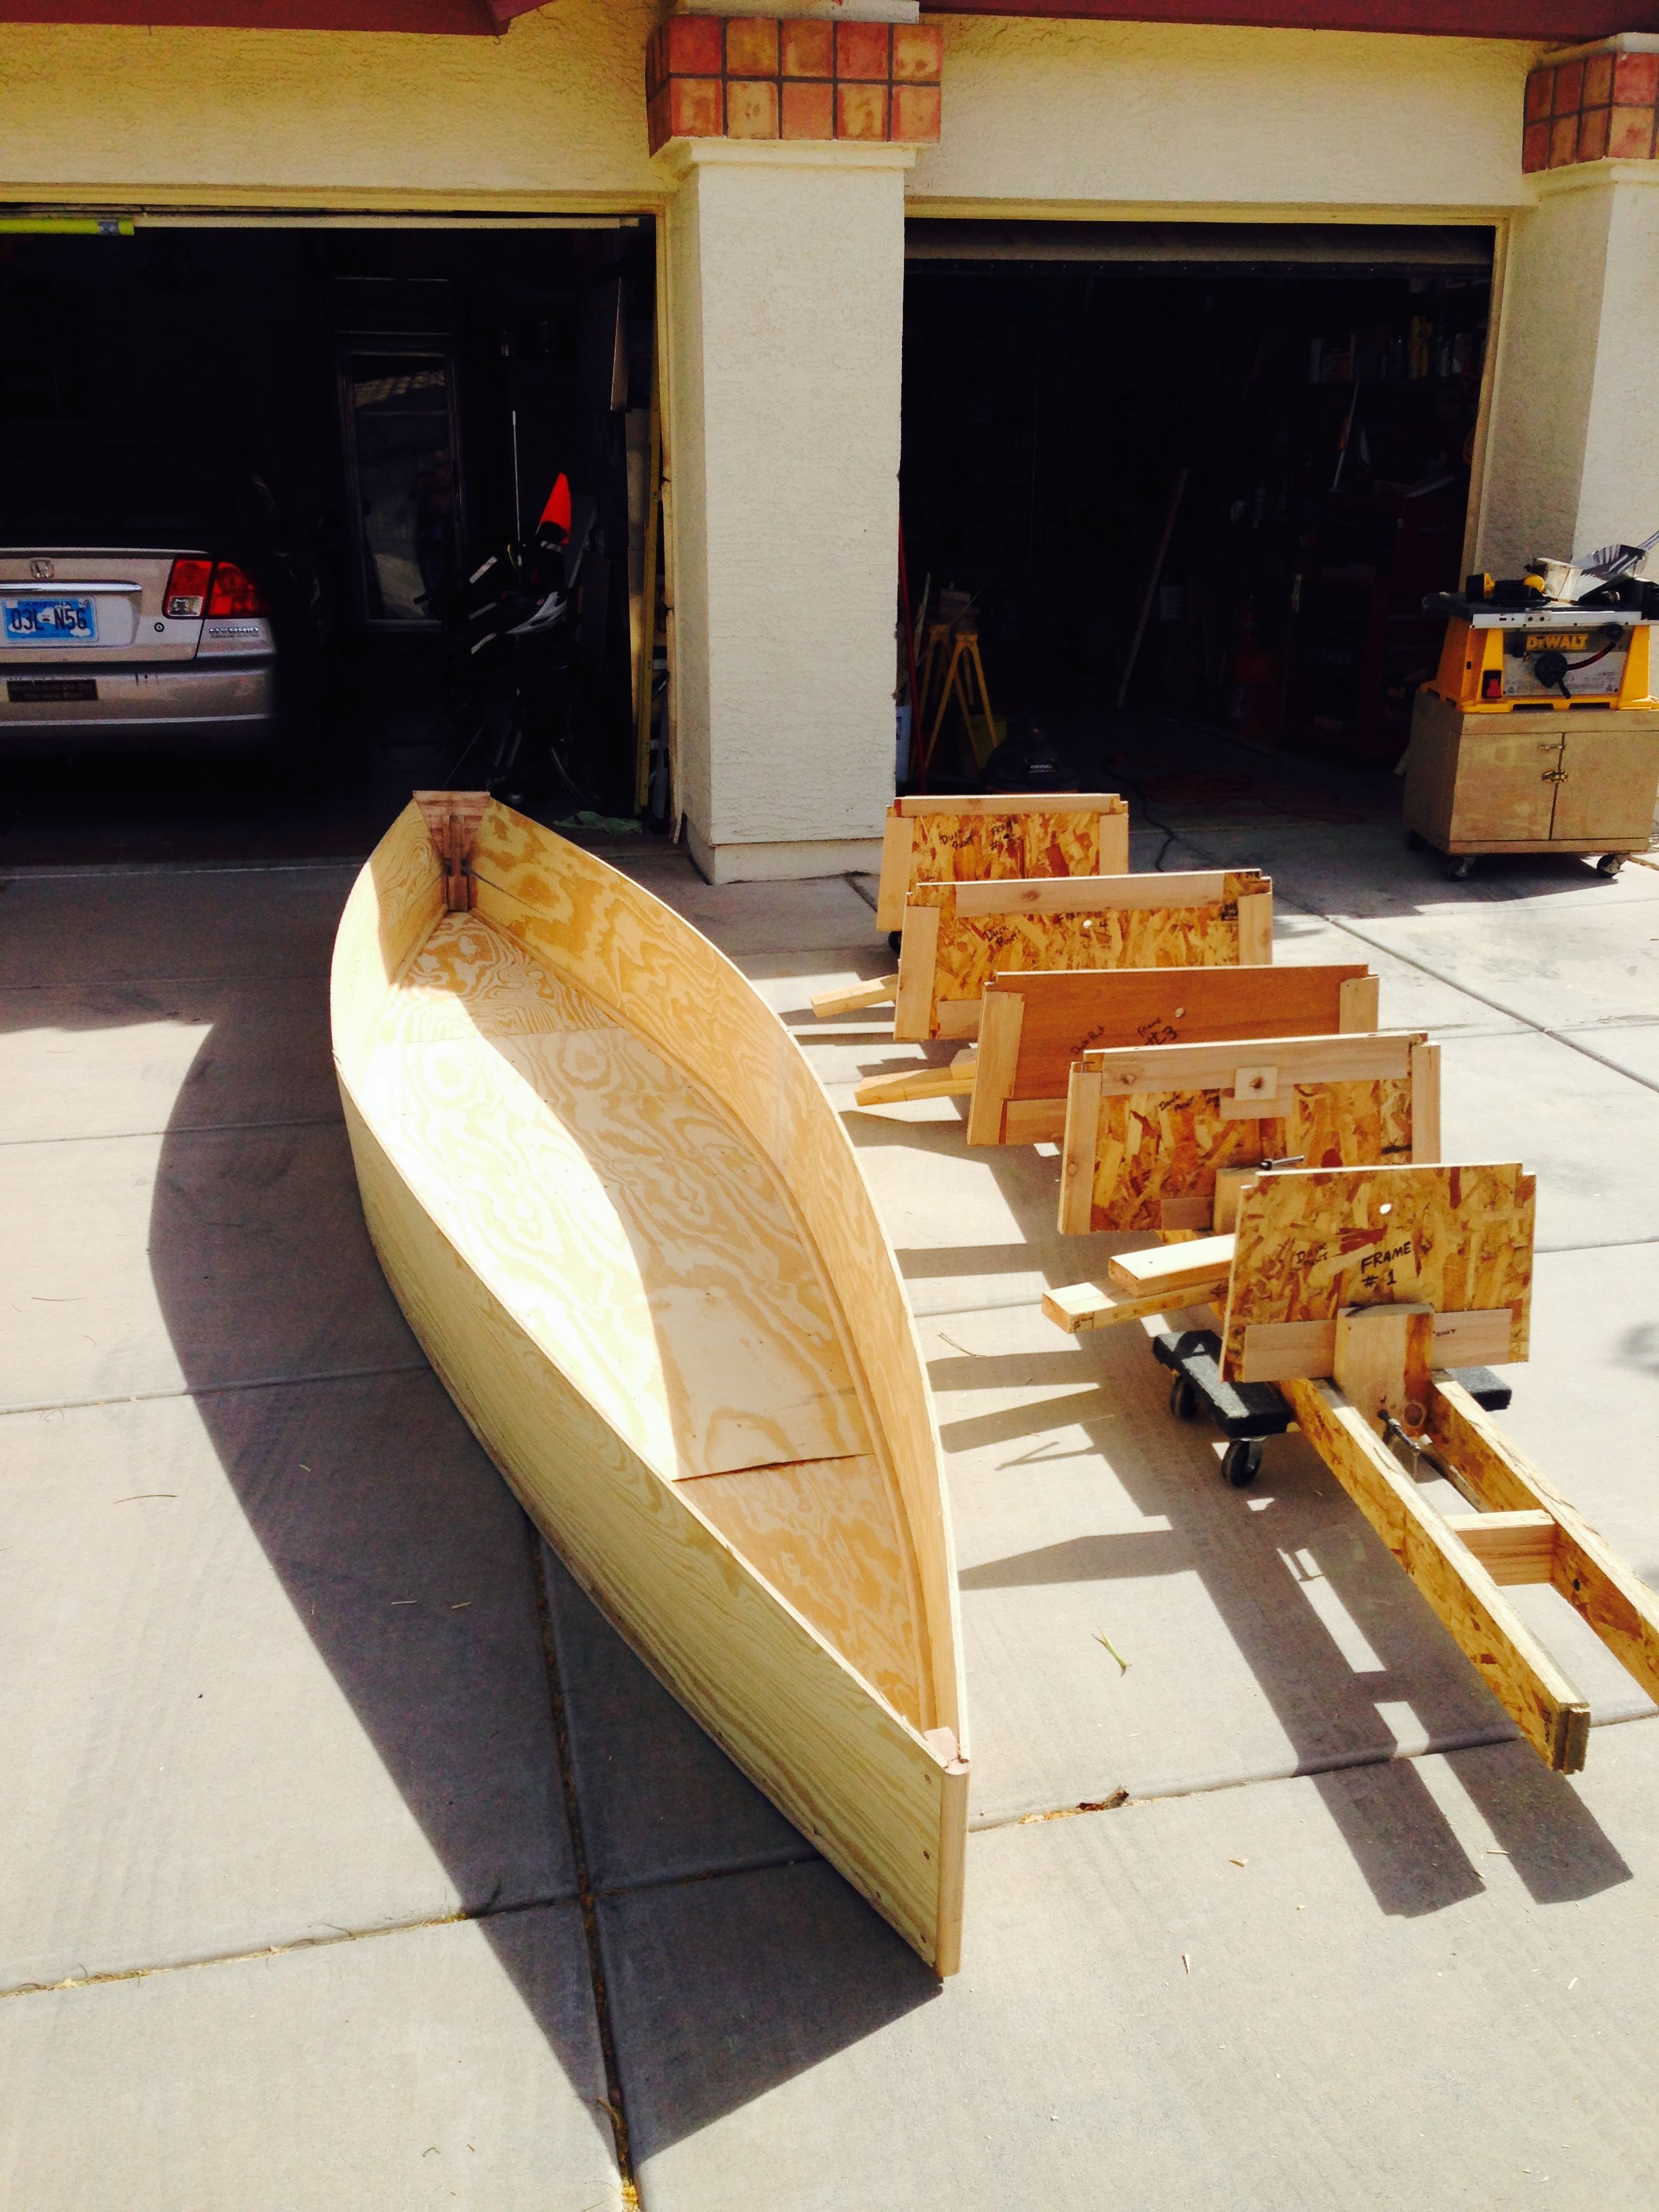
Ready to mount the
sides and bottom
Almost finished
I opted to go with scarf joints for all of the long plywood joints that make up the sides and bottom. This was meant to be a learning experience. That it was and a nervous one at that. I used a belt sander and judged my progress and the quality of the cut by watching the various ply layers come exposed as the sanding went on.

Built outside the boat
and fiberglassed.
Anytime you deviate from the plans or add features, extra time is involved, Here, I decided to seal the underside of the mast thwart so it could be filled with foam adding to safety buoyancy of the boat. I also added foam filled chambers in the narrows of the bow and stern.

two layers plus and sanded in
between
Finally, the boat was ready for fiberglass, epoxy, and paint. My finish is no where near perfect, but it looks good. After two layers of FG, i spread a final cover of epoxy. Then two coats of primer and two coats of finish paint. Inside got some epoxy and glass at stress points, Then a single coat of primer and a coat of finish. Of course, there was sanding, sanding, and more sanding. The finished boat is on our "Leprechaun Ark" page

I fabricated my own mast,
Sprit pole, and boom.
I decided to fabricate the mast and so on and wanted to fabricate all of the rigging cleats. However, I bought a sleeved sail that slips over the mast. I had to resort to smaller, commercial cleats for the sprit pole.
Finally, I built the floor out of pine strips, added a simple anchor and a stadium seat for the helmsman.